How To Form Bows
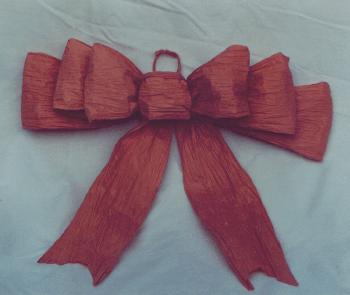
LAYERED BOW
Needed:
3 yards Am-Twist paper
9″ covered wire same color
- Untwist the paper ribbon. While holding the paper 20″ from one end, make a 9″ loop on each side of your hand.
- Make a 7″ loop on each side laying them on top of the first loops.
- Make the third loops on each side 5″ long.
- While holding the middle of the bow make a small center loop. Twist the paper and let the remaining paper hang for the tail.
- Using the wire secure the bow where your hand was holding it. Use the remaining wire to make a loop for hanging bow or attaching it to a project.
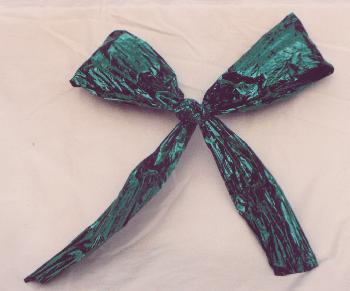
SHOESTRING BOW
Needed:
5 feet Am-Twist paper ribbon
Holding ribbon 16″ from one end, make an 8″ loop. Holding at the bottom of the loop wrap remaining ribbon around thumb. With forefinger, push ribbon through the small loop and pull, making a large loop even with the first one. (The same way you would tie a shoelace.)
Puff your loops and cut “V” shape in the tails.
VARIATIONS
Do exactly as above using two colors. Simply place one ribbon on top of the other before making a bow. Separate loops.
ANOTHER VARIATION
Needed:
10 feet ribbon
Hold ribbon 25″ from end. Make an 8″ loop on each side of your hand. Repeat. Make one more 8″ loop on one side (you now have three loops on one side and two on the other). Holding the middle with thumb and forefinger wrap remaining ribbon around thumb. As with the shoestring bow, push ribbon through small loop and pull until large loop is the same size as the others. You now have three loops on each side. Open loops so they look puffy. Cut “V” shape in tails.


